How to Get Stunning Prints with the Lumix S5II
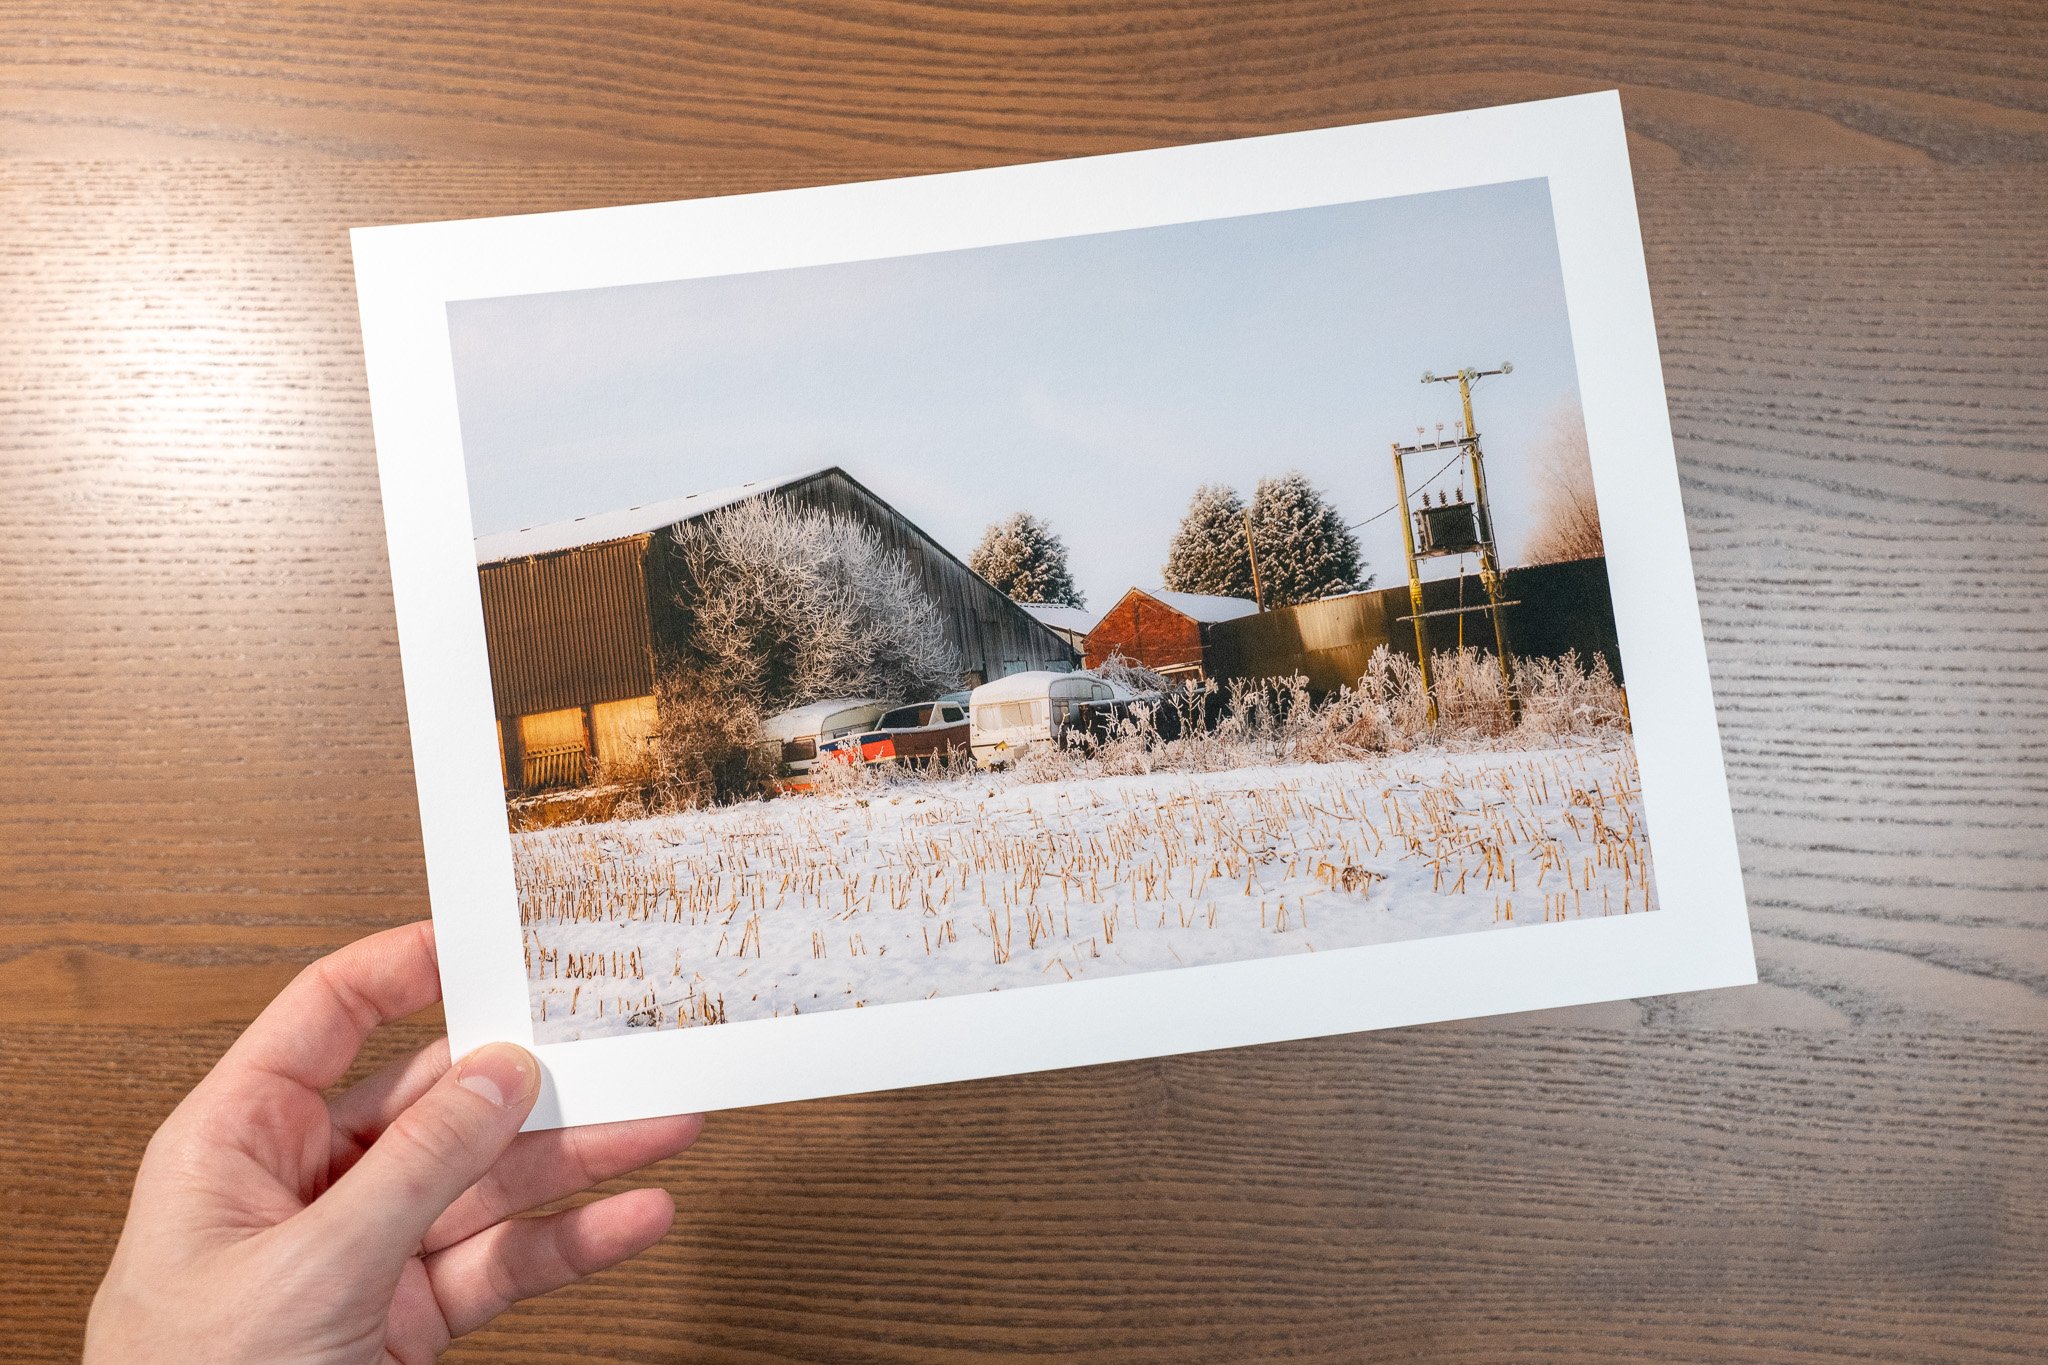
Printing your photography is one of the most satisfying ways to bring your work to life. There's nothing quite like holding a physical print of an image you've carefully composed, edited, and brought into reality. In this post, I’ll give you an overview of my process for capturing, editing, and printing stunning photos using the Lumix S5II. For a deeper dive and detailed examples, make sure to check out my YouTube video!
Why the Lumix S5II Is Perfect for Prints
The Lumix S5II features a 24MP sensor, which is perfect for creating high-quality prints up to A2 size (that’s roughly 16.5x23.4 inches). It’s not just about resolution—the sensor’s dynamic range and color accuracy ensure that your images look stunning when printed. This camera delivers exceptional detail and tonal depth, making it a great choice for photographers who love printing their work.
The Photography Process
When I head out to shoot with the Lumix S5II, I always think about how the final image will look as a print. For this project, I focused on outdoor landscapes, paying close attention to light, contrast, and composition. These elements come alive on paper, so it’s worth taking the time to get them right in-camera.
By keeping the end goal—a stunning physical print—in mind, you’ll make creative decisions that elevate your photography.
Editing for Print Perfection
Editing is where you refine your vision. I used Lightroom for this project, with a focus on soft proofing to preview how the image would look on Fotospeed NST Bright White paper (a textured matte paper). Using the paper’s ICC profile, I adjusted the colors and contrast to ensure the final print matched my vision.
Sharpening is also key—print sharpening is different from what you might use for digital viewing. This step ensures your image looks crisp and detailed once printed.
Avoid extreme cropping when editing! Make sure to compose your shots carefully in camera to make sure you have to crop as little as possible preserve detail and resolution. By cropping you are also losing information in the file.
The Printing Process
Printing brings everything together. I use the Canon PIXMA PRO 200, paired with Fotospeed NST Bright White paper. Here’s my quick workflow:
Load the ICC profile for your paper and printer.
Match the printer settings to your paper type and size.
Double-check your image resolution and sizing for A2 prints.
Print and enjoy the results!
Seeing the finished print come to life is always a magical moment—it’s the ultimate reward for your effort.
Wrap-Up
The Lumix S5II is a fantastic tool for creating gallery-worthy prints, and with the right approach, you can achieve amazing results. If you’d like to see my full process in action, including real-world examples and tips, watch my YouTube video below. It covers everything step by step and will help you take your printing game to the next level.
Let me know in the comments: Have you printed your photos before? What’s your favorite part of the process? I’d love to hear your thoughts!


